When you write blog posts, you usually write them in the English language. What if a non-English user lands on your website or the blog post? The chances are that he will exit the page and in response, you’ll get high bounce rate.
In order to connect with people, culture, and places across the language barriers, there is a need of a translator widget on your website for the visitors to instantly translate the blog into different languages.
Google Website Translator is a free translation plugin by Google, which translate a page or blog post between different languages, around 90 languages.
By adding a translator to your website you’ll get more traffic, better user experience, and less bounce rate. Let’s take a look how to add Google Website Translator plugin to the WordPress website.
Step 1:
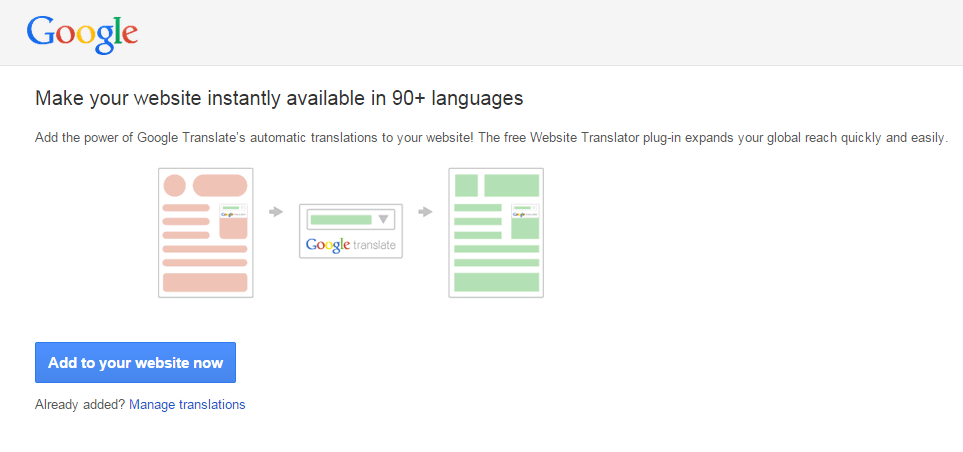
- Go to https://translate.google.com/manager/website/
- Click on Add to your website Now.
Step 2:
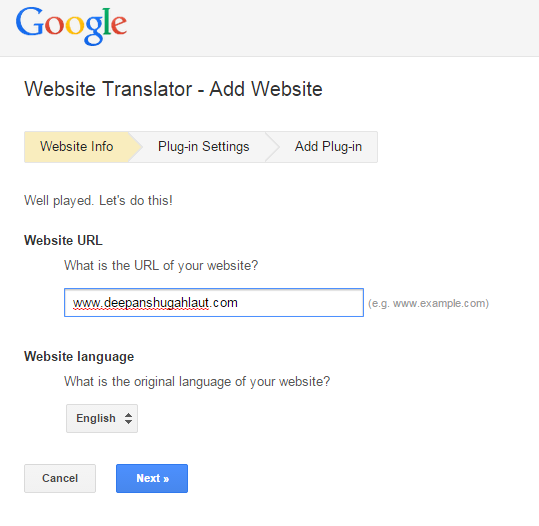
- Fill out the website info – Your website URL and original website language.
- Click Next.
Step 3:
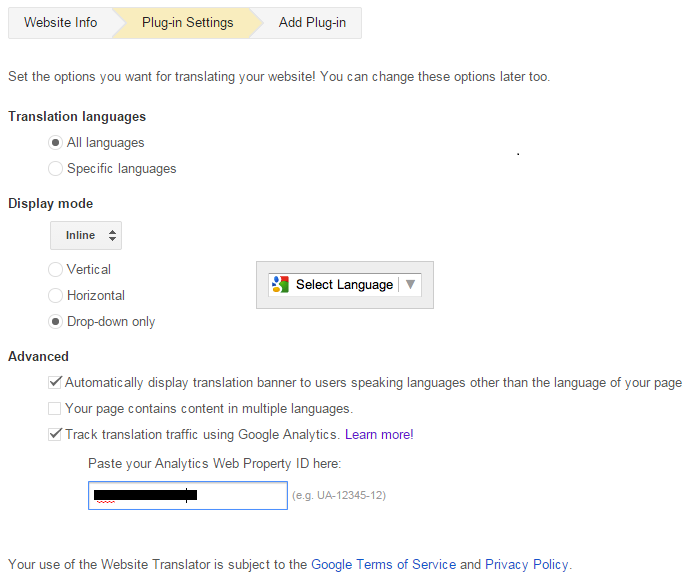
- Set the plugin settings accordingly –
Translation Languages – All languages.
Display Mode – Set as you like, here I set to inline drop down the only mode.
Advanced – You can track the translation traffic using Google Analytics if you want to track, paste the unique Analytics code of your website. - Click on Get Code.
Step 4:
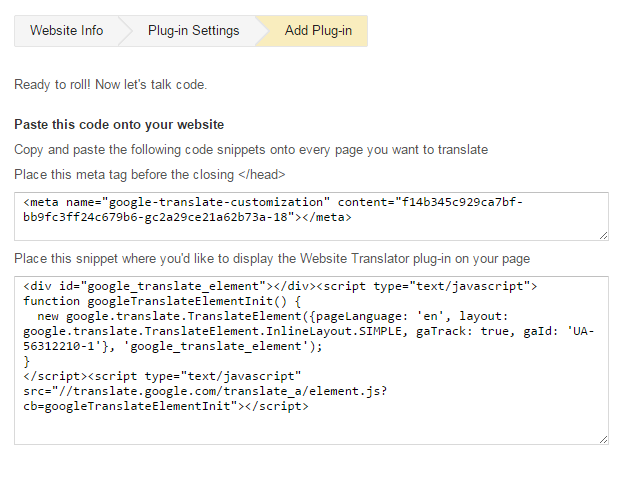
Now, you get two codes from the Google to add to the website.
 First – Meta code, add this to your header file before the closing </head> tag.
Second – The translator code, add to your website where you want. For ex. I added to the sidebar content widget as shown below –
All done! You can manage translation settings such as Suggestions, Glossary, Editors etc. by going to the settings.
Anything to add here? What plugin do you use to translate? Please share in comments.


 Google Webmaster Tools: The Free Beginner’s Guide
Thanks for the Blog, Your information found important & useful for me. Thanks again.