You have successfully registered your domain and have a hosting account. But now what?
You probably have some idea of what you want to do next. And yes that is – You need a CMS (Content Management System) for your blog. WordPress is the most popular and easy to use CMS and blogging platform.
Installing WordPress manually is somewhat complicated for new users, but your hosting provider provides you installer scripts such as Softaculous, SimpleScripts that is an easier way to install WordPress using cPanel. It’s a simple process and takes only 5 to 10 minutes to complete.
It’s a simple process and takes only 5 to 10 minutes to complete.
Ready to install WordPress? Follow these steps given below and put your beautiful website to work for your business:
A: Setting up database and users
Step 1: Set up database
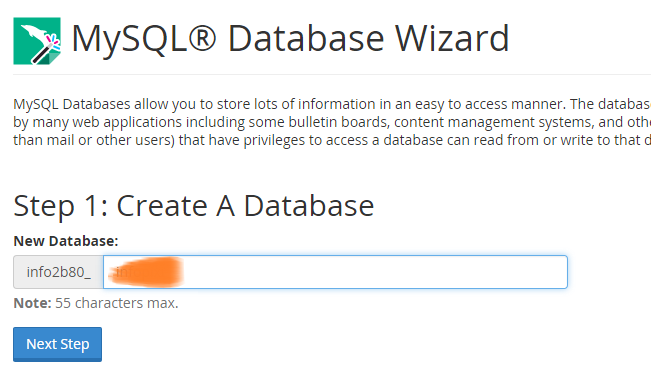
First, you’ll need to set up MySQL database and database user for your WordPress blog. Login to your cPanel account. Click on the MySQL wizard.
Step 2: Give Your Database a Name
Next step is to create a database. Give it a name. I would recommend you to use your site name (small letters without space) as the database name. Click on Next Step.
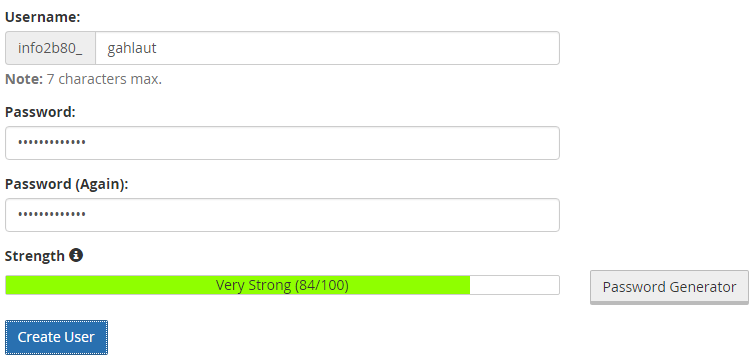
Step 3: Create database users
Next step is to create users for MySQL database.
Step 4: Give Privileges and Finish
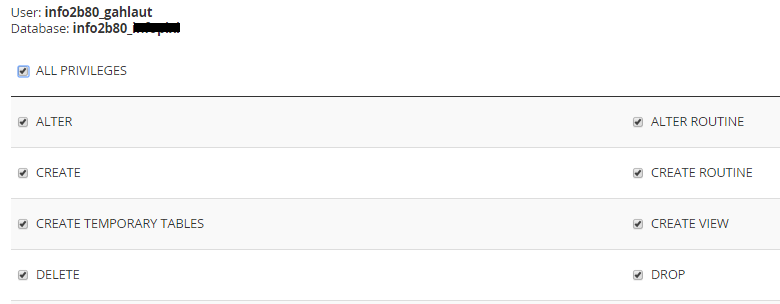
This is the last step in setting up the database. Give all privileges to that user and finish. Once done, you will see following after database and users setup.
After successful installation, you’ll see the following success message-
B: Installing WordPress
Now it’s time to install WordPress. There is no need to download WordPress and upload it to the site when you use, scripts such as Softaculous. It allows 1-click installation for WordPress.
Step 5: Click on Softaculous App Installer – WordPress Script
Scroll down your cPanel. You will see Softaculous Apps Installer. Click on WordPress.
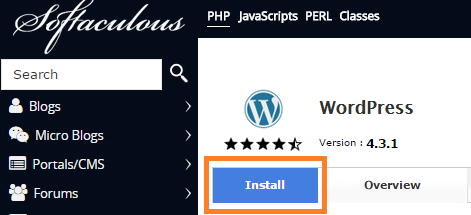
Step 6: Click on Install
You will see a new dashboard. Click on Install button.
Step 7: Fill the details
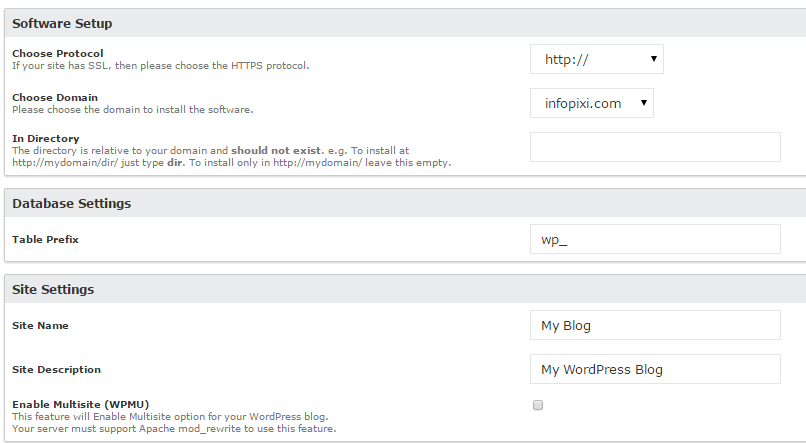
The new window will ask you to fill some important information. Now fill all the details:
Choose Protocol: Select http:// or https:// whatever applies.
Choose Domain: Select the domain name.
In Directory: Leave this empty.
Table Prefix: You will see default wp_.
Site Name: Title of your site, i.e. brand name or company name
Site Description: Put few words about your domain.
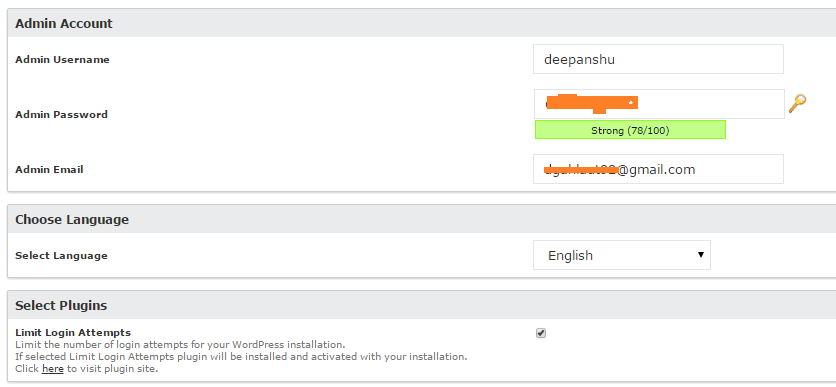
Admin Username: Create something for yourself.
Admin Password: Give it a strong password.
Admin Email: Email id for the admin user.
Choose Language: Select English
Limit Login Attempt: Will install the limit login plugin to limit the number of attempts for WordPress Installation.
Database Name: Type the name of the database to be created for this installation. You can also choose the previously created database.
Select Theme: if you want, otherwise default Twenty Fifteen/Sixteen will be installed.

Step 8: Install
Finally, click on Install. Installation process may take 2-3 minutes. Once done you’ll see a new window.

Step 9: Login to Your WordPress
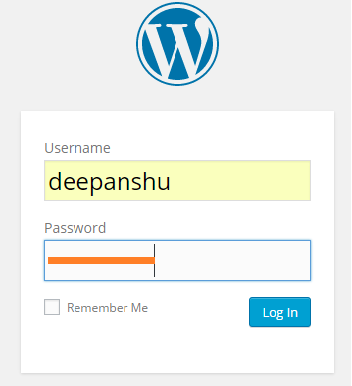
Now login at yoursite.com/wp-admin/. Use your admin name and password that you’ve provided in WordPress Installation.
Step 10: What’s Next?
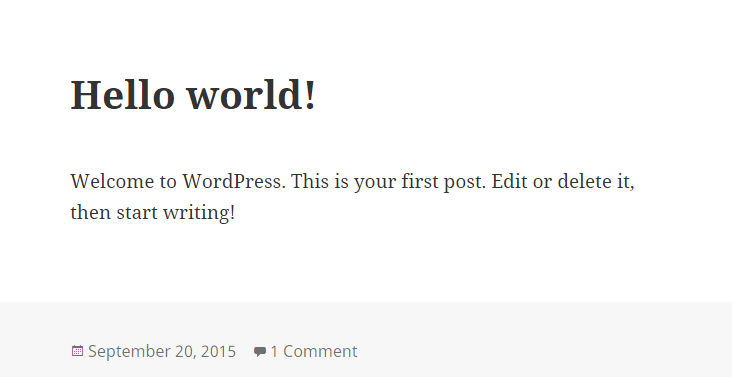
All done! Set up your site – design, logo, images, create blog posts and pages and start your business.







 5 Ways to Make Customers Happy on Social Media